Table of Contents
Using Eclipse in MINIX3 with Remote Explorer
The current support of MINIX3 toward other GNU software is still in progress, therefore coding with an IDE on the MINIX3 system is not yet possible. However, most of the programmers would prefer having their favorite IDE as a working and programming environment. One solution to that problem is the Remote System Explorer available for Eclipse. The plug-in has a lot of options targeted on Linux, Windows, and Unix boxes, including process control and remote debugging; but, those features are not yet available with MINIX3. But, it has a really neat feature to connect remotely via SSH to the MINIX3 box, edit the contents of the files, compile them, and navigate through the errors (if any). That makes the life of the MINIX3 programmer quite easier, especially for the GUI-fans.
Prerequisites
- Installation and setting OpenSSH by using pkgin
- Setting root password on the MINIX3 OS
Installation
Eclipse installation
In order to use Eclipse, a clean installation of Eclipse is required. Eclipse is available at http://www.eclipse.org/downloads/. Choose Eclipse Classic, as shown on the picture below:

Unzip the downloaded archive, and run the Eclipse executable. The system is ready for further use.
Install C/C++ support
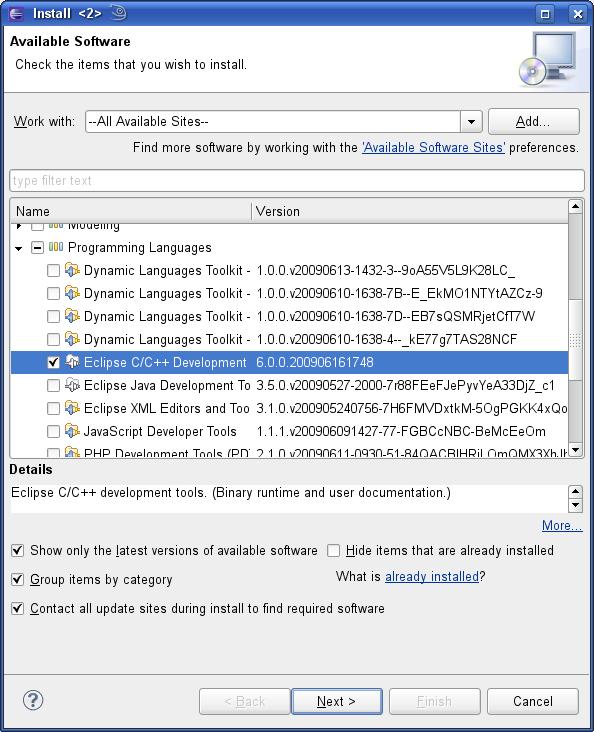
The Eclipse IDE comes with an Update Manager, simplifying the installation and update of all of the Eclipse modules. In order to use the IDE for C development, the support for C/C++ development is required. It can be installed by running Help → Install New Software. Then, in the drop-down menu Work with, choose “–All Available Sites–”; and in “Programming Languages”, choose check “C and C++ Development”, and click Next. After accepting the license agreement, Eclipse is ready for editing C and C++ files.
Remote System Explorer installation
To install the Remote System Explorer, run Help → Install New Software. Click on “Add”. Define a new remote update site named “Target Management Updates”, and specify http://download.eclipse.org/dsdp/tm/updates/.
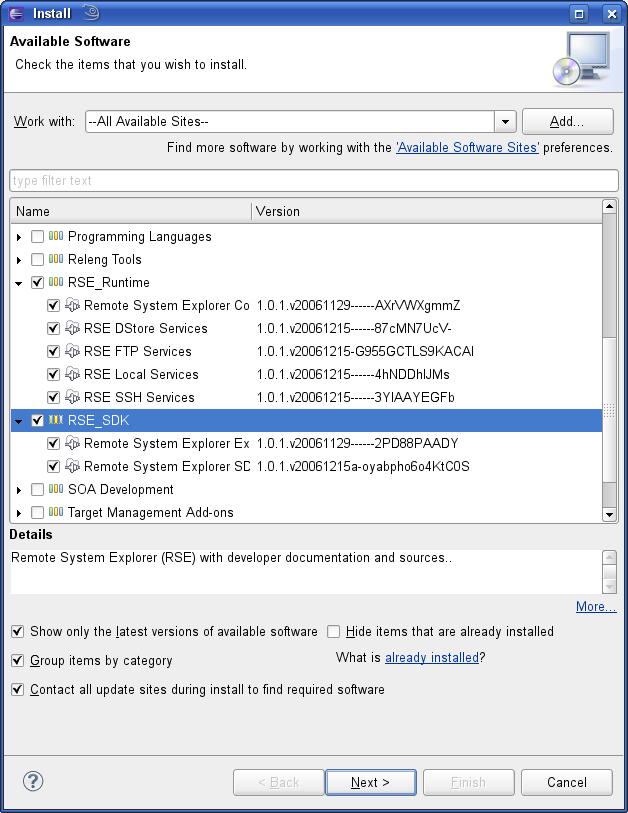
In the menu, click on Target Management Updates, and select “RSE Runtime” and “RSE_SDK”, and click “Next”. After the installation is done, and Eclipse is restarted, the RSE is ready to connect to your MINIX3 OS.
Usage
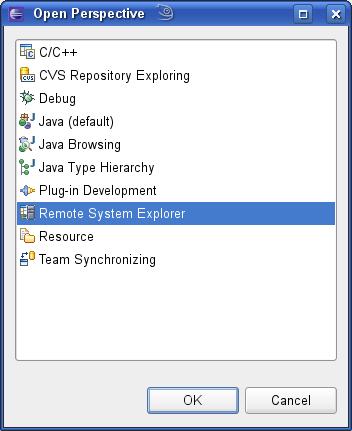
Choose Window → Open Perspective, and choose Remote System Explorer.
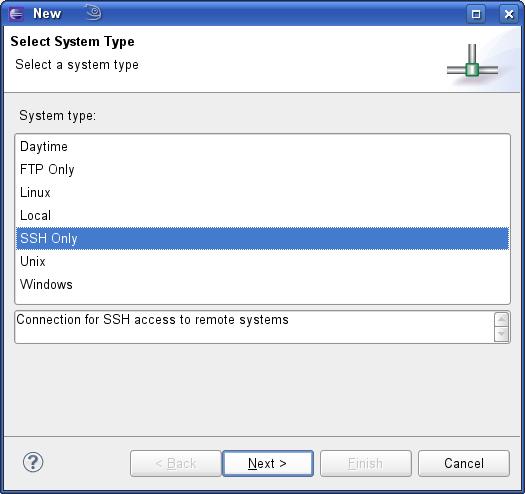
Right-click on the left side in the Remote Systems tab, and choose New Connection, select SSH Only, and proceed to the next step.
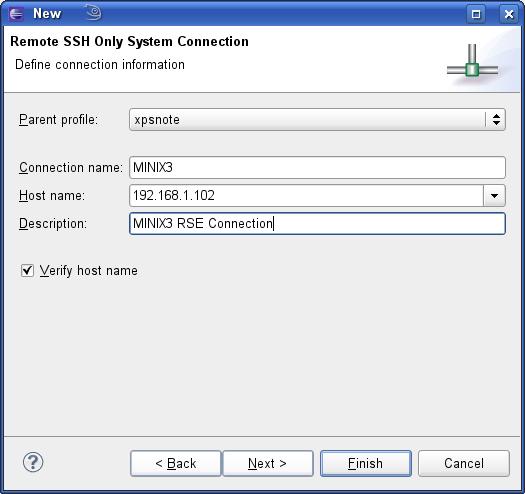
Specify the connection name, the host, and the description; then, click Next.
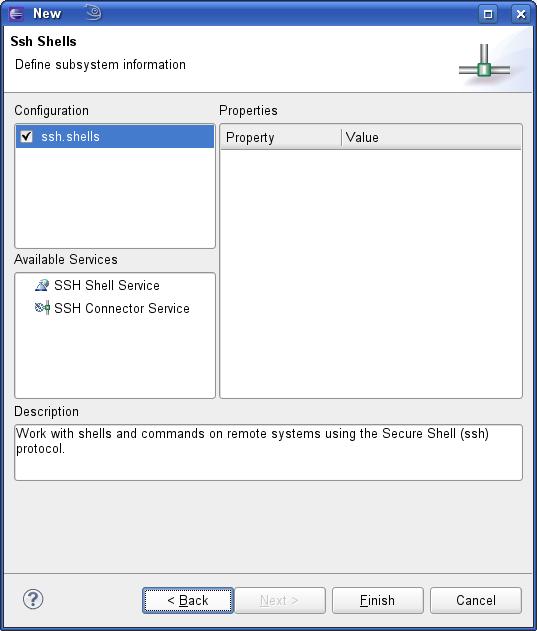
On the next window, click Finish.
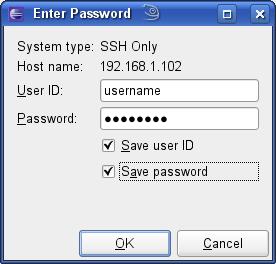
Now, the connection has been created. And, on the left in the Remote Systems tab, the MINIX3 connection is present. When opening the file system, a username and password will be requested by the RSE:
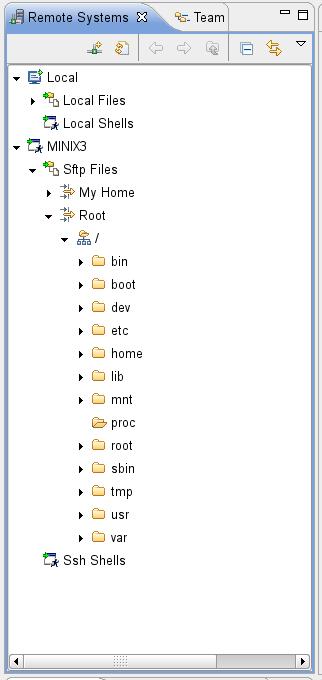
Enter the username and password; and by now, the full file system should be shown in the Remote Systems tab.
Hello World
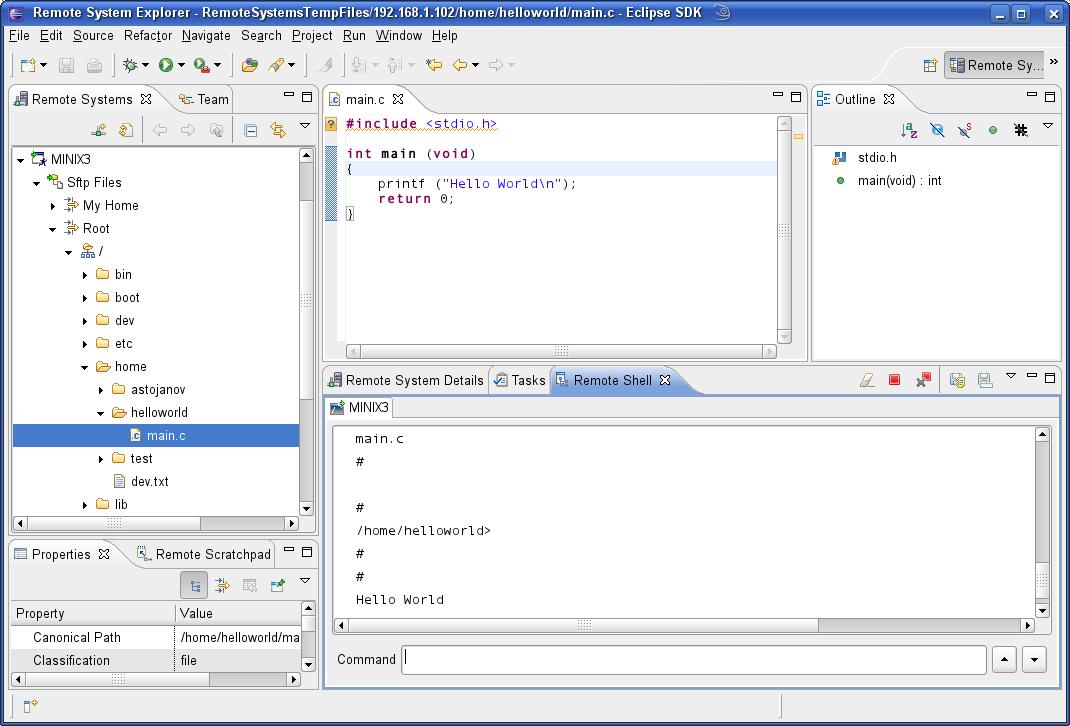
Connect to your MINIX3 installation. Create a new folder, let's say, “/home/helloworld”, using the Remote System tab. Create a new file in that directory, main.c, and write the simple Hello World program.
Show the Remote Shell in the current perspective by running: Window → Show View → Other; and, Select Remote Shell. Connect to the MINIX3 system, by clicking on the drop-down menu of the Remote Shell. Run the following:
cd /home/helloworld
cc -o helloworld main.c
In order to run the program, run ./helloworld on the Remote Shell. You can see the output stream directly in the Remote Shell window in your Eclipse IDE.
NOTE: If you, by any chance, are running Eclipse from a Windows system, you will have to set up Eclipse new line character to be recognized by Unix systems else the compiler will give problems. To do so, you can follow these instructions http://cs.calvin.edu/curriculum/cs/112/resources/eol/
